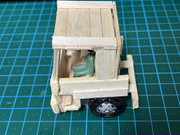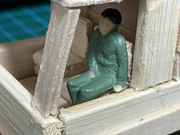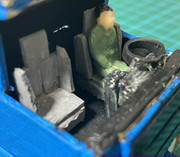
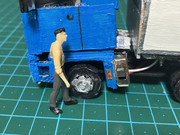
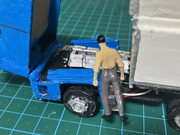
Painted and detailed; even though the doors don’t open and the roof isn’t removable (or hinged), the (also wooden) seats were still shaped to fit the “Sitting Boy in Green” figure before they were glued in. Of course, the windscreen and side windows were taken off and the front of the roof loosened to add the interior. The steering wheel is a rubber ring from (possibly) an old pen tip, which later had a thin, black strip of paper glued to its centre to complete the look; despite most of my other customs being UK-style, I made it left-hand drive to make it less country-specific. Inspiration for the interior detail came from a childhood plastic Volvo-themed model.
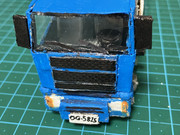
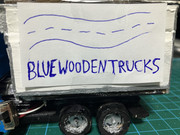
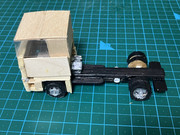
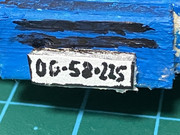
Detail includes: anti-slip mat pieces for the radiator grille, step treads and indicators, paper windscreen wipers and wooden wing mirrors with aluminium foil on the inner sides; not sufficiently reflective, but it still makes them look like mirrors. Two pieces of paper were added where the side panels would be. For the current registration, I went with 5825 (referencing the date of the post that introduces the updated model). OG stands for “Original” - as opposed to derivative - and will denote most of my other generic customs from now on.
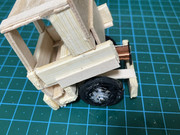
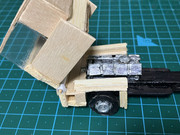
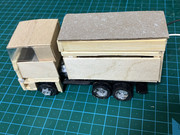
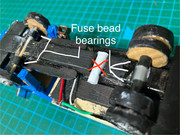
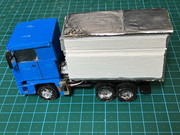
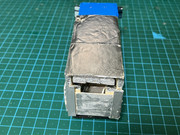
While painting, I made sure to tilt the cab so it wouldn’t stick to the mudguards (and also to help paint the front of the goods compartment properly). Even after painting the hinge, it still tilts as nicely as it did before the paint job. Speaking of which, this will likely be my last use of paper tube bearings for hinges; I now have Perler-like fuse beads in black and grey, and one of my planned uses for them will be making more durable hinges and other moving elements. For certain cases, I might even buy one or two pegboards for their intended purpose and heat-join the beads to make ultra-precise components.
Minor upgrade:
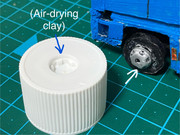
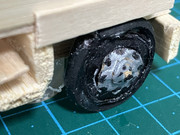
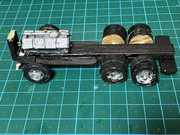
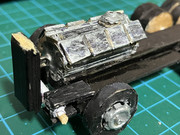
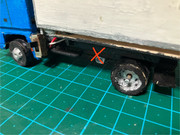
Rather than using the six-pointed toothpaste seals for hubs, I tried pressing air-drying clay into the hole in the cap and found out it makes the casts rounded; much more ideal for this purpose, since they look more like the real things and can be made in much higher quantities. Only the edges have to be cut off, but the hole is easier to centre thanks to the moulding blemish in the cap. The current hubs should’ve been lightly sanded at the back so they wouldn’t protrude as much. Now I’ll no longer have to use googly eyes to make parts like domes, for instance.
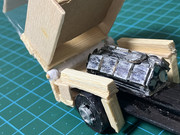
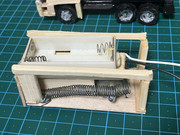
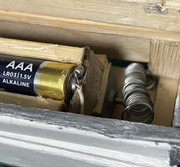
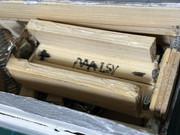
Unintentional, but: due the unsoldered wiring, the motor or spring now has to be gently prodded to get the sound to work even with a new battery; kind of like starting an actual engine. To make the mech more compact, I could’ve mounted the spring laterally (facing the sides of the compartment) with the motor facing the cab and used a AAA battery to make room for some kind of payload. Although it seems like it in the demo, there’s no motion sensor on the front axle to speed up the sound; it only changed because the left side of the generator (where the spring is) got pressed lightly when the lorry was picked up.